

How To Repair Toenail Bed
How to rebuild damaged toenails
By Katie Barnes | 20 March 2018 | Blog, Adept Communication, Feature, Nail Techniques
Educator and award-winning nail technician, Katie Barnes, reveals how to rebuild toenails to get them looking tip-top in time for the summertime months – with a step-by-pace photo guide and smash knowledge to boot
 Damaged, cleaved or bitten toenails can exist an extremely common concern, simply it is something your customer needn't be embarrassed about. The damage can occur from sports, running or an blow, poor plumbing fixtures shoes or through keeping toenails also long. It's more common than you call back and a elementary 20-minute appointment can allow the tech to safely rebuild the damaged toenail, leaving your client feeling confident.
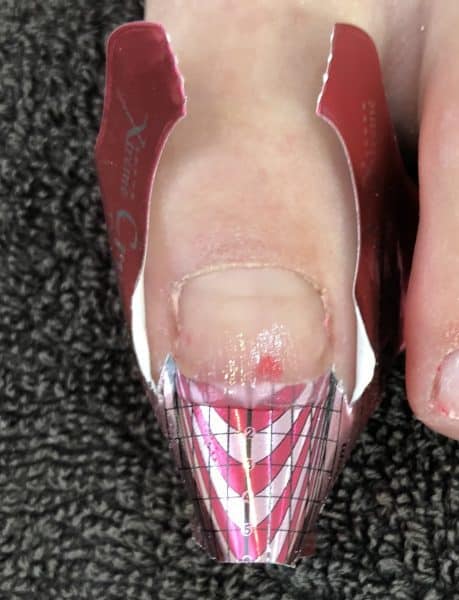
To be able to reach this, the client must have some nail at that place, however brusque. You would tend to the enhancement just as you lot would for a blast biter, customising and applying a smash form to build the product up. This method allows the 50&P or gel production to form the natural shape of the toenail without peel contact. This reconstruction can exist created in the same technique on any toenail simply the big toe is often the most common. It is important to do a thorough visual and written consultation, to make up one's mind the cause of the damage and appraise whether the client is safe to take the treatment. If there is an infection or there is any open skin, yous must wait for this to heal earlier treating.
The most important consideration when rebuilding a toenail is ensuring that you lot are not touching the skin with uncured product. Great care can oftentimes be taken when treating the fingernails simply forgotten when attention to toes. It is also of import to leave a small-scale margin by the sidewall so to again, not accept skin contact with the uncured product, only so that h2o will have a place to evaporate and not go trapped. I recommend using a transparent pink to create the toenail, and then that tech and customer can see and exist aware of what is going on underneath.
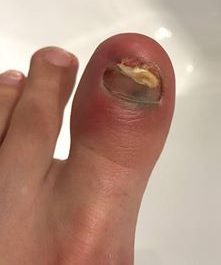
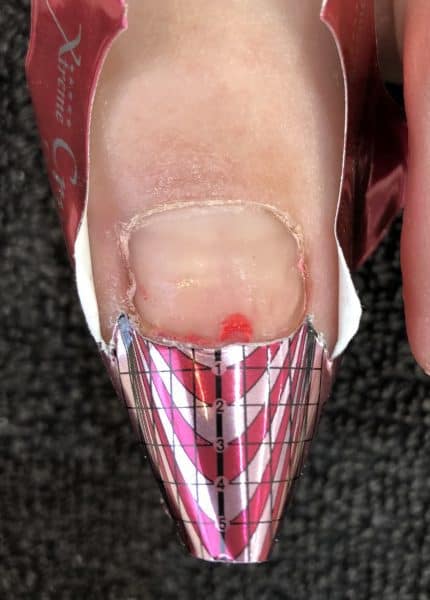
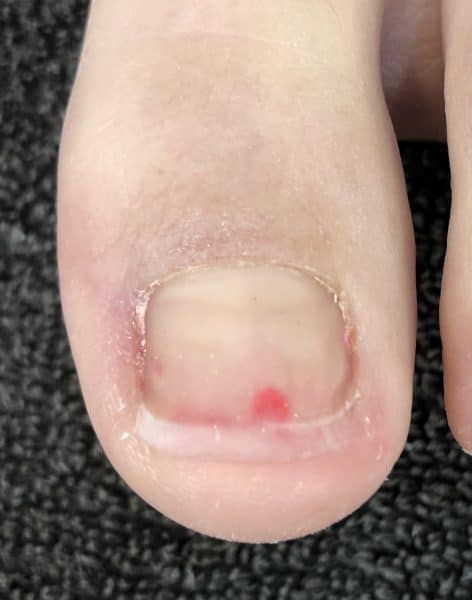
An infected toenail after initial impairment
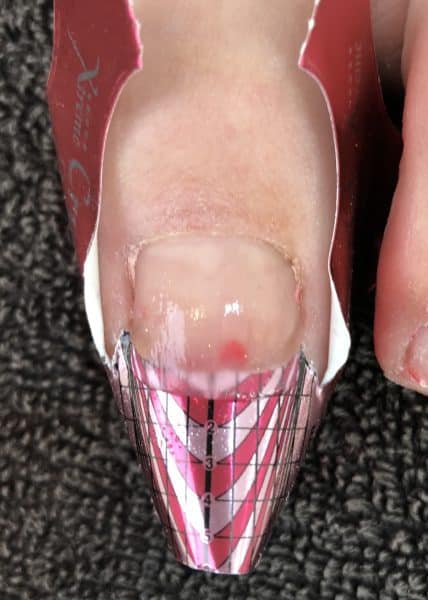
If there is no smash growth whatsoever, it makes things a little trickier, with more maintenance required. You can all the same use a form to protect the pare, sculpt the shape of a toenail onto the nail bed and, with the OK from a GP or dermatologist, the customer can adhere this to be nail bed using a medical course skin adhesive, which can oftentimes be purchased from a pharmacy. A medical grade skin glue is paramount and never the apply of smash mucilage or superglue and so to not encourage bacteria growth from trapped water, skin irritations or allergies. As mentioned, always use a transparent pink enhancement product so that the customer tin can remove the smoothen but still see and exist able to monitor the smash bed underneath.
The client must be enlightened and prepared to attend regular maintenance appointments every two-three weeks. The shorter and more damaged the natural nail, the sooner they must get this maintained to prevent farther impairment or problems. The damage may exist permanent or grow out in 6-12 months. This will determine whether the client will go long-term or a one-off appointment. Whether the client has regular smoothen, or gel polish, it is essential to remove this and supersede to monitor the boom bed and natural blast underneath. While it is important to make the client feel confident by rebuilding their toenail, caring for the natural nail health and smash integrity is even more than of import otherwise there will be a never-ending cycle of rebuilding the enhancement, forth with other potential problems.
Dearest Katie B x
www.katiebarnesacademy.com
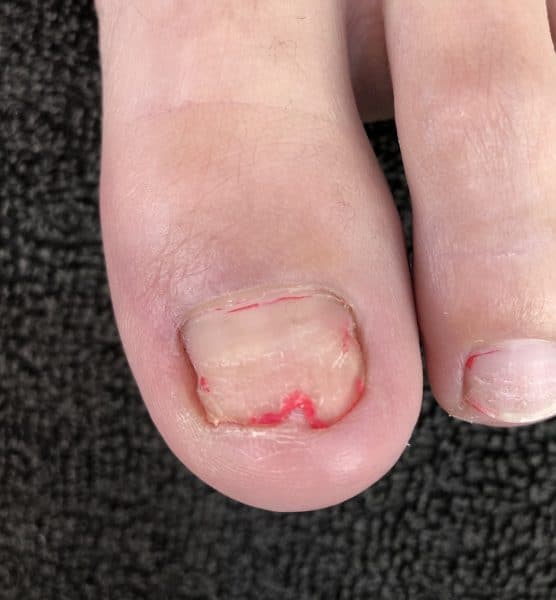
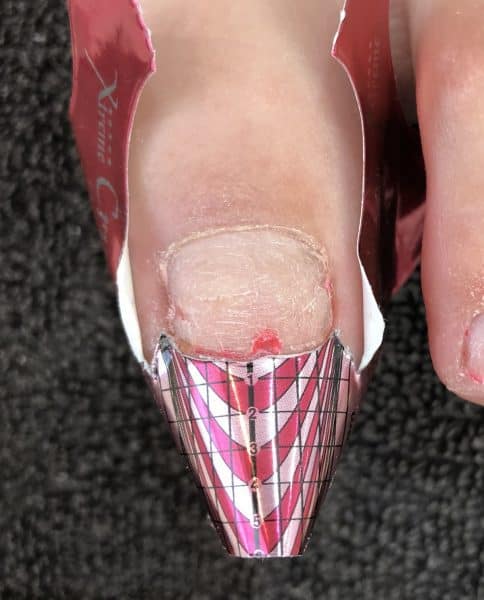
Damaged toenail before blast service
Pace 1: Utilize sanitiser on the client'due south feet and your hands. Remove any smooth or product from the boom plate. Push button dorsum the eponichyium growth and use a 180-dust file to remove the shine from the nail plate.
Step 2: Cutting and customise a blast form to sit under the free edge of the smash. As the toenail is wider than a fingernail, use pocket-sized curved scissors to cut and brand the course wider. If the toe has a fleshy pad, stick the tab underneath or double upwards your form to hold down this pare.
Step 3: Apply primer sparingly to the nail plate, ensuring yous practise non touch the skin.
Footstep four: Apply transparent pink L&P or Gel to the nail and bring out onto the course, not extending past where the peel ends. Ensure you lot exercise not affect the skin or sidewalls when applying the production.
Footstep 5: Use a small bead at the cuticle, making sure the application is flush, and then it will not elevator.
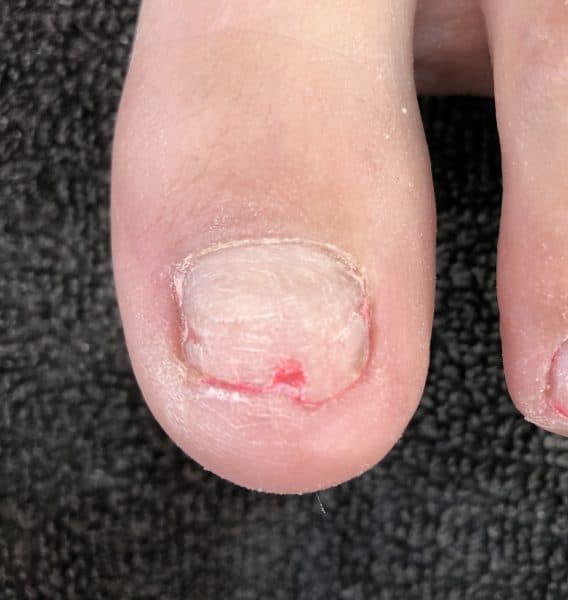
Stride 6: Once fully cured, remove the class, file and buff into shape. Ensure that the toe nail is kept direct and not rounded to avoid ingrowing toenails.
Stride 7: Apply gel shine or smash shine of your pick. Finish with cuticle oil and recommend this to your client to apply at habitation to keep the enhancement flexible.

Source: https://www.katiebarnesacademy.com/blog/read_184530/how-to-rebuild-damaged-toenails.html
Posted by: beckerdowen1969.blogspot.com
0 Response to "How To Repair Toenail Bed"
Post a Comment